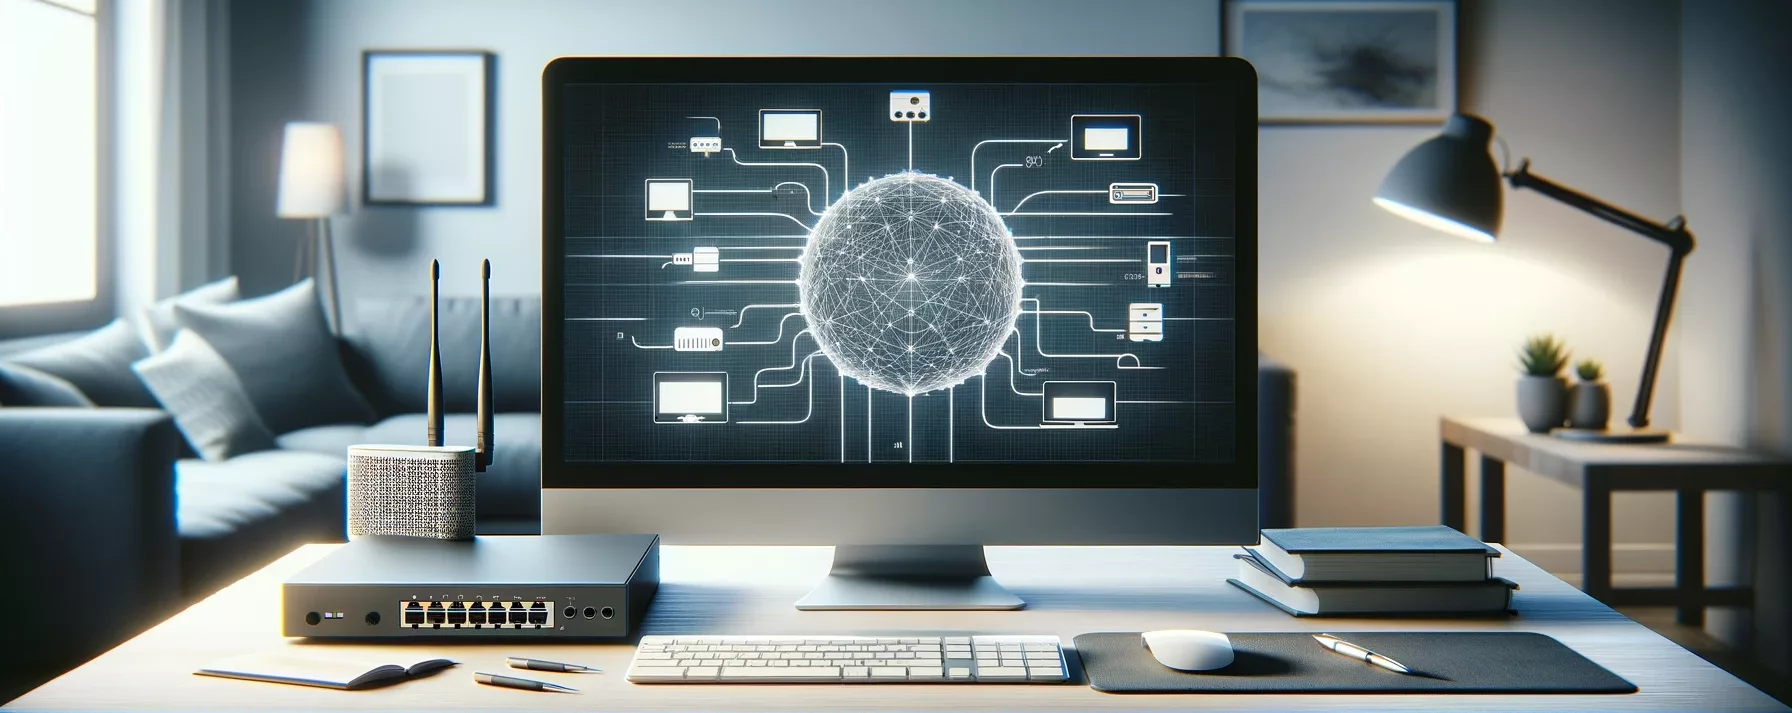
How to Connect a New Computer to the Internet: A Step-by-Step Guide
Setting up a new computer is an exciting experience, but it isn’t complete until you’ve connected it to the internet. Whether you’re setting up a desktop or a laptop, a wired or wireless connection, this guide will walk you through the process so you can start surfing the web, streaming content, and downloading apps without a hitch.
Preparing for the Setup
Before you dive into connecting your new computer to the internet, make sure you have the necessary equipment:
- Internet Service Provider (ISP) Connection: Ensure you have an active internet service.
- Modem and Router: Typically, your ISP provides a modem, and you might need a router for wireless connections.
- Ethernet Cable: Needed for a wired connection.
- Network Credentials: For a wireless connection, know your network’s SSID (name) and password.
Connecting via Ethernet (Wired)
Step 1: Connect Your Computer to the Router
Locate the Ethernet port on your new computer — it looks like a large telephone jack. Take one end of the Ethernet cable and plug it into this port. Connect the other end of the cable to one of the LAN ports on your router.
Step 2: Enable Ethernet Connection
- Windows: Go to ‘Settings’ > ‘Network & Internet’ > ‘Ethernet’. If you see ‘Connected’, your PC is connected to the internet.
- MacOS: Click the Apple icon, then ‘System Preferences’ > ‘Network’. Select ‘Ethernet’ and click ‘Connect’.
Your computer should automatically connect to the internet through the Ethernet cable. If it doesn’t, you may need to restart your computer or check the connections.
Connecting via Wi-Fi (Wireless)
Step 1: Enable Wi-Fi on Your Computer
- Windows: Click the Network icon on the taskbar, then select the Wi-Fi button to turn it on.
- MacOS: Click the Wi-Fi icon in the menu bar and enable Wi-Fi.
Step 2: Connect to Your Network
Your computer will search for available networks. Find your network’s SSID in the list and click on it. Enter the network password when prompted and select ‘Connect’.
Step 3: Verify the Connection
Once connected, you can verify your internet access by opening a web browser and trying to visit a website. If the page loads, you’re connected!
Troubleshooting Common Issues
If you encounter issues, here are a few troubleshooting steps:
- Check Network Credentials: Ensure the SSID and password are correct.
- Restart Your Modem and Router: Unplug both devices, wait about 30 seconds, and plug them back in.
- Update Network Drivers: On a PC, go to ‘Device Manager’, find ‘Network adapters’, and check for updates.
- Check for Interferences: Devices like microwaves and cordless phones can interfere with Wi-Fi signals.
Final Tips
- Security: Always use a secure, encrypted network to protect your data.
- Location: Place your router in a central location in your home for the best signal coverage.
- Updates: Regularly check for updates for your operating system and hardware to ensure optimal performance and security.
By following these steps, you can connect your new computer to the internet and ensure a smooth and secure online experience. Happy browsing!

