
Building a Gaming PC on a Budget
Building your own gaming PC can be a rewarding and cost-effective way to get the gaming rig of your dreams. By carefully selecting components and taking advantage of deals, you can build a powerful system without breaking the bank. This guide will walk you through the process step by step, ensuring you get the most bang for your buck.
1. Setting Your Budget
Before diving into the components, it’s crucial to set a realistic budget. A good range for a budget gaming PC is between $500 and $1000. This will allow you to build a system capable of handling most modern games at medium to high settings.
2. Choosing Your Components
Here’s a breakdown of the essential components you’ll need and some budget-friendly options for each:
a. Central Processing Unit (CPU)
The CPU is the brain of your PC. For a budget build, look for a CPU that offers a good balance between performance and price.
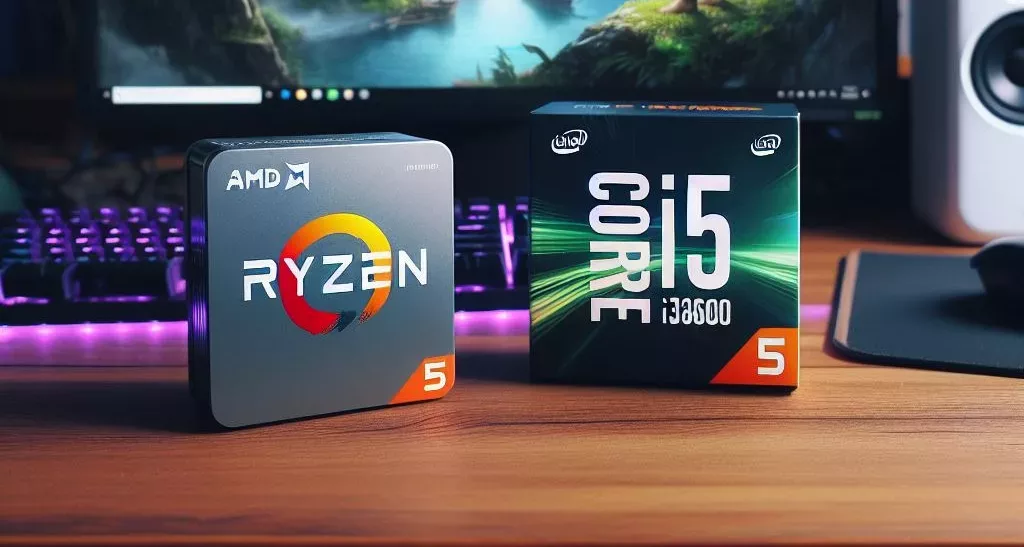
- AMD Ryzen 5 3600: A great mid-range option with 6 cores and 12 threads.
- Intel Core i5-10400F: Another solid choice with 6 cores and 12 threads, often available at a lower price point than its AMD counterpart.
b. Graphics Processing Unit (GPU)
The GPU is critical for gaming performance. Here are some budget-friendly options:

- NVIDIA GeForce GTX 1660 Super: Excellent performance for the price, capable of handling most games at 1080p.
- AMD Radeon RX 5600 XT: Another strong contender in the budget GPU market.
c. Motherboard
Choose a motherboard that is compatible with your CPU and has the features you need.

- MSI B450 Tomahawk Max: A reliable and feature-rich motherboard for AMD builds.
- ASRock B460M Pro4: A budget-friendly motherboard for Intel builds.
d. Memory (RAM)
Aim for at least 16GB of RAM for a smooth gaming experience.
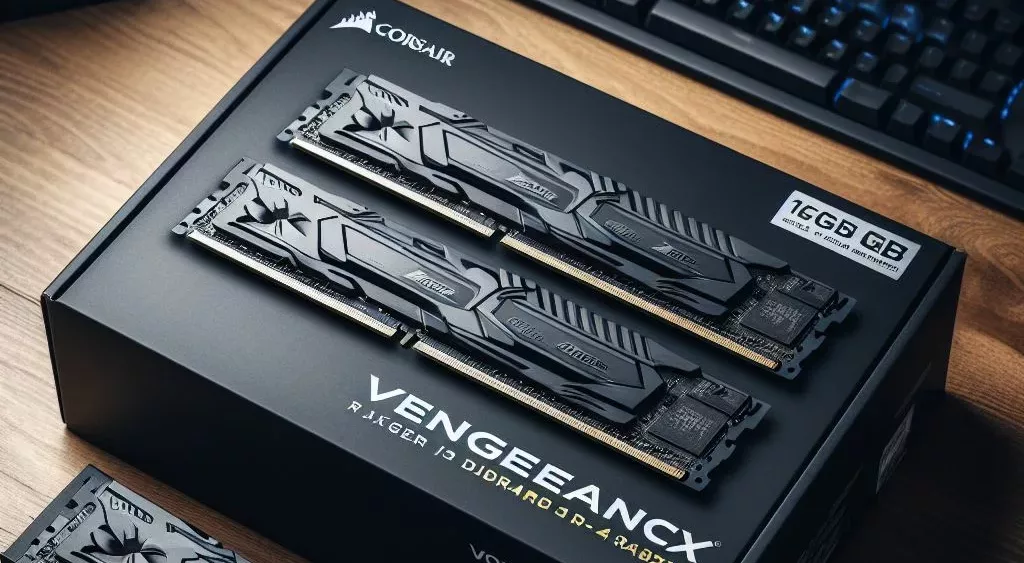
- Corsair Vengeance LPX 16GB (2 x 8GB) DDR4-3200: A popular and affordable choice.
e. Storage
A combination of SSD and HDD can give you the best of both worlds: speed and capacity.
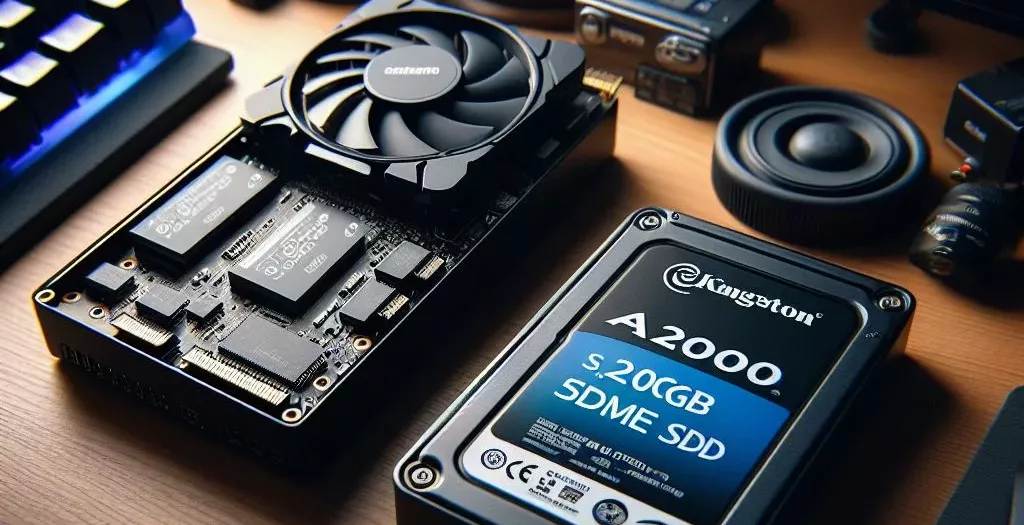
- Kingston A2000 500GB NVMe SSD: Fast storage for your operating system and most-played games.
- Seagate Barracuda 2TB HDD: Plenty of space for additional games and files.
f. Power Supply Unit (PSU)
A reliable PSU is crucial to power your components safely.

- EVGA 600 W1, 80+ WHITE 600W: A budget-friendly option with enough power for most builds.
g. Case
Choose a case that fits your components and provides good airflow.
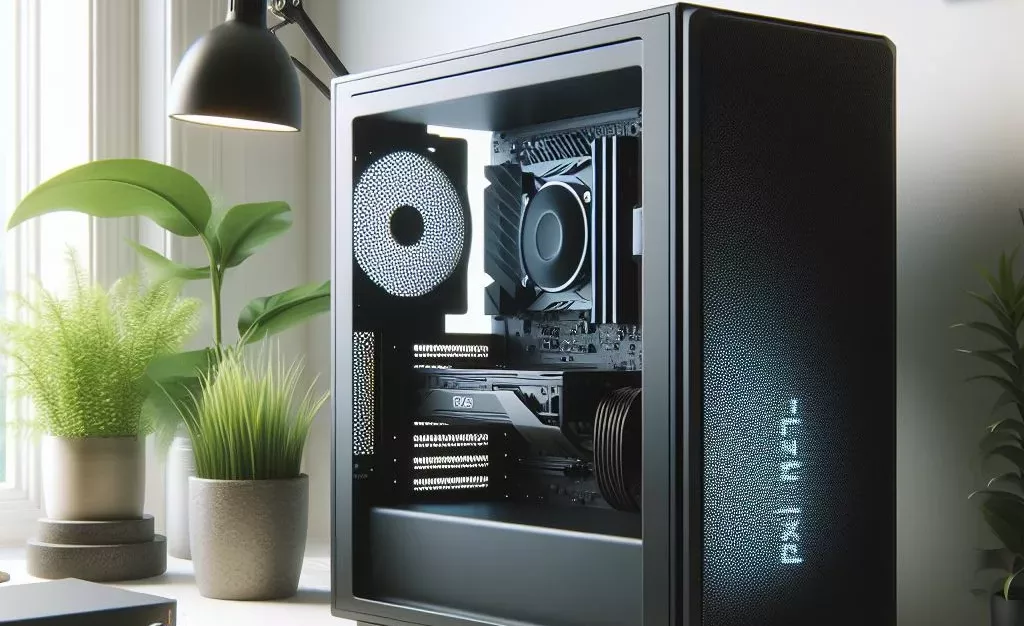
- NZXT H510: A stylish and functional case with good cable management features.
3. Assembling Your PC
Now that you have all your components, it’s time to put everything together. Follow these steps:
- Prepare Your Workspace: Make sure you have a clean, static-free area to work in. Gather all your tools, including a screwdriver and thermal paste (if needed).
- Install the CPU: Carefully place the CPU into the socket on the motherboard. Follow the instructions provided with your CPU and motherboard.
- Install the RAM: Insert the RAM sticks into the appropriate slots on the motherboard.
- Install the SSD and HDD: Mount the storage devices in the case and connect them to the motherboard.
- Mount the Motherboard: Secure the motherboard inside the case using the screws provided.
- Install the GPU: Insert the GPU into the PCIe slot on the motherboard and secure it in place.
- Connect the PSU: Attach all necessary power cables from the PSU to the motherboard, GPU, storage devices, and any other components.
- Cable Management: Neatly route and secure all cables to ensure good airflow and a clean look.
- Final Checks: Double-check all connections and make sure everything is securely in place.
Video Guide: Building a Gaming PC
To make the assembly process even easier, we’ve included a detailed video guide showing each step of the build process. Watch the video below to see how it’s done:
4. Installing the Operating System
Once your PC is assembled, it’s time to install the operating system. Most gamers opt for Windows 10, but there are free alternatives like Linux.
- Create a Bootable USB Drive: Download the installation media from the official website and create a bootable USB drive.
- Install the OS: Insert the USB drive into your new PC, boot from it, and follow the on-screen instructions to install the operating system.
5. Optimizing and Testing Your System
After installing the OS, install the latest drivers for your GPU and other components. Run stress tests and benchmarks to ensure everything is working correctly and to optimize performance.
6. Enjoy Your New Gaming PC
Congratulations! You’ve built a gaming PC on a budget. Now you can enjoy playing your favorite games with a system you built yourself.
Building your own gaming PC can be a fun and rewarding experience. By following this guide and making smart choices with your components, you can build a powerful gaming rig without breaking the bank. Happy gaming!